Renter-Friendly Peel and Stick Kitchen Backsplash Makeover
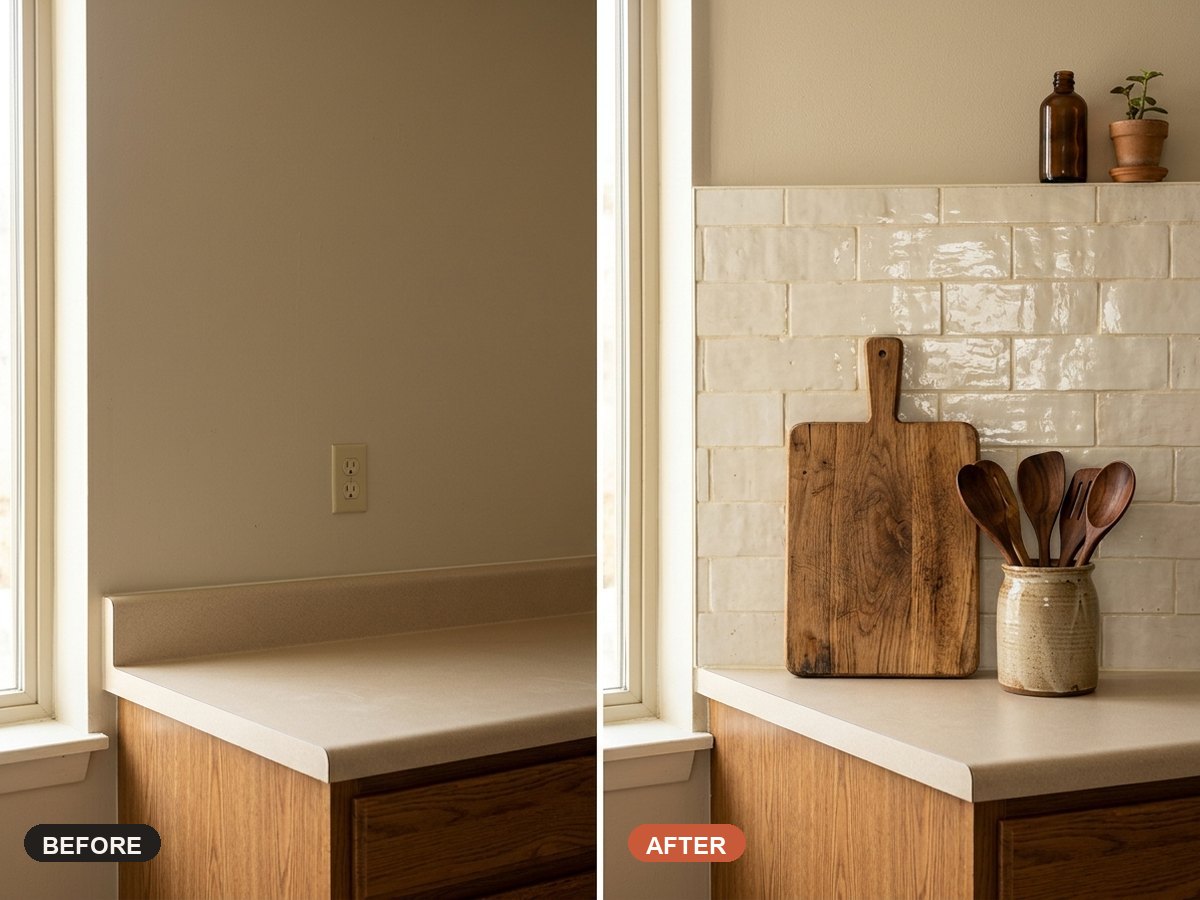
A dull apartment kitchen wall doesn't have to stay boring until you move out. Modern 3D gel peel-and-stick tiles mimic real glazed subway and zellige tile—with zero mortar, zero grout, and easy heat-assisted removal.
Renter-Friendly Peel and Stick Kitchen Backsplash Makeover
Supplies Needed
Tools
- Sharp utility knife & fresh blades
- Metal straightedge ruler
- Measuring tape & spirit level
- Screwdriver (for outlet covers)
- Degreasing cleaner
Step-by-Step Instructions
-
Deep-clean and turn off outlet power
Switch off the kitchen circuit breaker, unscrew outlet plates, and scrub the wall with a degreaser so cooking oils don't weaken the adhesive.
-
Draw a level baseline
Don't trust your countertop to be level. Use a spirit level to pencil a dead-straight horizontal guide line along the bottom course.
-
Cut the first straight edge
Trim the jagged interlocking edge off your first sheet using a metal ruler and sharp utility knife so it sits flush against the corner or cabinet.
-
Peel, align, and overlap
Peel back 3 inches of backing, align to your level line, and smooth outward as you peel the rest. Overlap the grout-line tabs on each new sheet.
-
Trim around outlets and replace plates
Measure outlet openings carefully, cut with a utility knife on a cutting mat, press tiles down firmly, and screw outlet covers back over the edges.
Pro Tips & Budget Variations
- Renter trick: if your rental has flat/matte paint, apply wide painter's tape across the wall first, then stick the tile onto the tape for 100% damage-free removal.
- Keep vinyl peel-and-stick tiles at least 6 inches away from open gas stove flames.
- When moving out, warm each tile with a hair dryer for 20 seconds to soften the adhesive before peeling slowly.
Frequently Asked Questions
Will peel-and-stick tile peel off the wall paint when I move?
On semi-gloss paint, warming with a hair dryer usually releases it cleanly. On flat drywall paint, use the painter's tape underlayment trick to be 100% safe.
How many sheets do I need?
Save This DIY for Later!
Pin this tutorial to your Renter Friendly DIY Room Upgrades board so you have the supply list handy on your next craft-store run.