No-Drill Renter-Friendly Bathroom Mirror Frame DIY
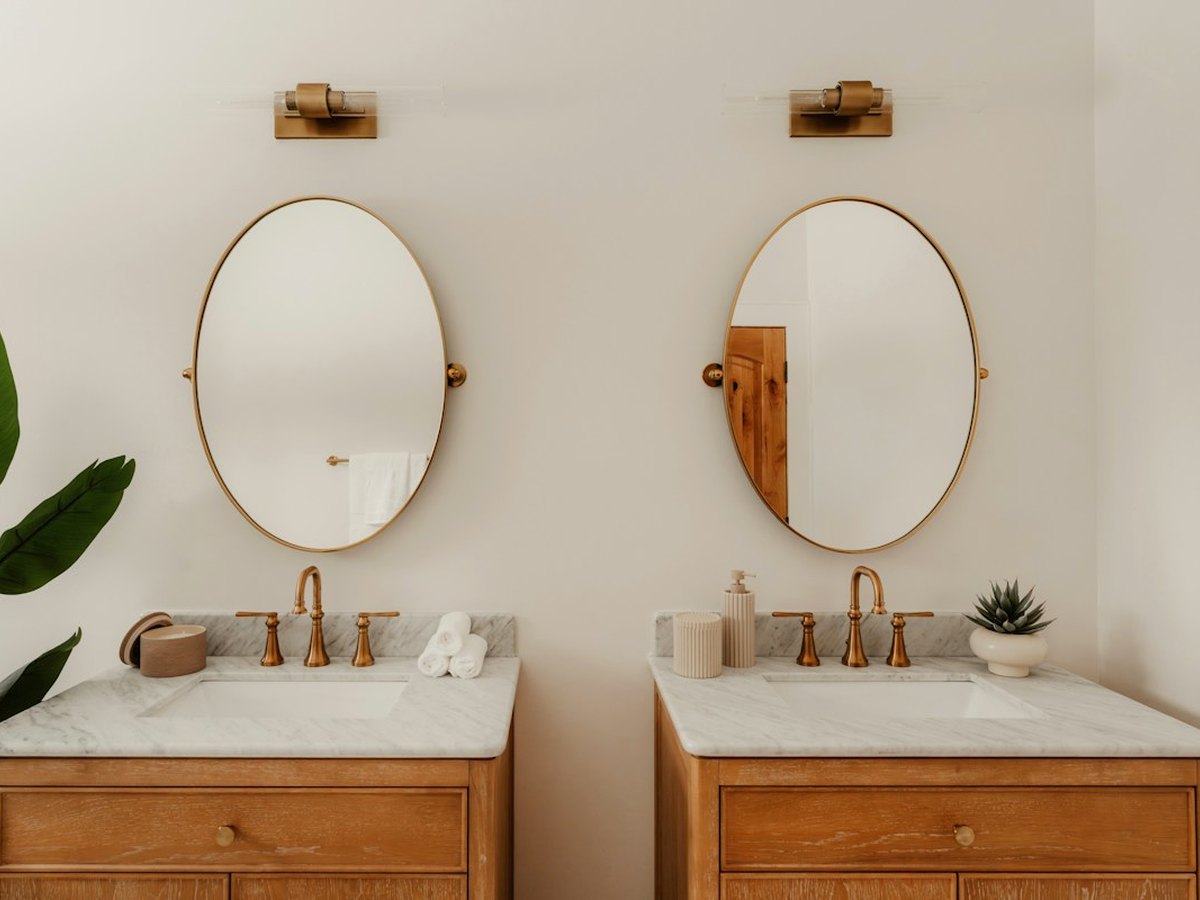
Every rental bathroom seems to come with the same giant frameless builder-grade mirror held up by plastic clips. Framing it with lightweight stained pine trim and removable Command strips gives you a custom spa vanity in one afternoon.
No-Drill Renter-Friendly Bathroom Mirror Frame DIY
Supplies Needed
Tools
- Measuring tape & spirit level
- 220-grit sanding block & stain rag
- Glass cleaner & rubbing alcohol
- Wood glue (optional, for joining corners flat)
Step-by-Step Instructions
-
Measure and get 4 straight-cut strips
Measure exact outer width and height of your mirror. Use simple butt joints (top & bottom full width; left & right fit snugly between them)—no angled miter saw required!
-
Paint the back of every strip matte black
Don't skip this pro trick: paint the back face of each wood strip matte black so you never see raw light-colored wood reflecting in the mirror edge.
-
Stain and waterproof-seal the front
Sand the front and inner edges smooth, wipe on warm oak or walnut stain, and brush on 2 thin coats of matte water-based polycrylic to protect against shower steam.
-
Clean glass with rubbing alcohol
Wipe the outer 3 inches of the mirror glass thoroughly with rubbing alcohol so water-resistant strips bond cleanly.
-
Press frame pieces firmly onto glass
Apply water-resistant Command strips every 10 inches along the painted backs (sticking straight onto the glass around plastic clips), align flush with the mirror edge, and press firmly for 30 seconds.
Pro Tips & Budget Variations
- Have plastic mirror clips sticking out? Carve a tiny 1/8-inch notch on the back of lightweight lattice trim—or stick thick foam strips next to the clips so the trim floats seamlessly over them!
- Using 1/4-inch thin pine lattice instead of heavy 3/4-inch boards keeps total frame weight under 3 lbs—effortless for Command strips.
- Pull the release tabs straight down on move-out day and wipe the glass clean in 2 minutes.
Frequently Asked Questions
Will Command strips hold up in a steamy shower bathroom?
Use specifically labeled Command Bath / Water-Resistant strips, clean the glass with rubbing alcohol first, and wait 24 hours before running a hot shower.
What if my mirror sits directly on the backsplash with zero gap?
Rest the bottom trim piece right on top of the backsplash edge—that actually helps support the frame weight too!
Save This DIY for Later!
Pin this tutorial to your Renter Friendly DIY Room Upgrades board so you have the supply list handy on your next craft-store run.