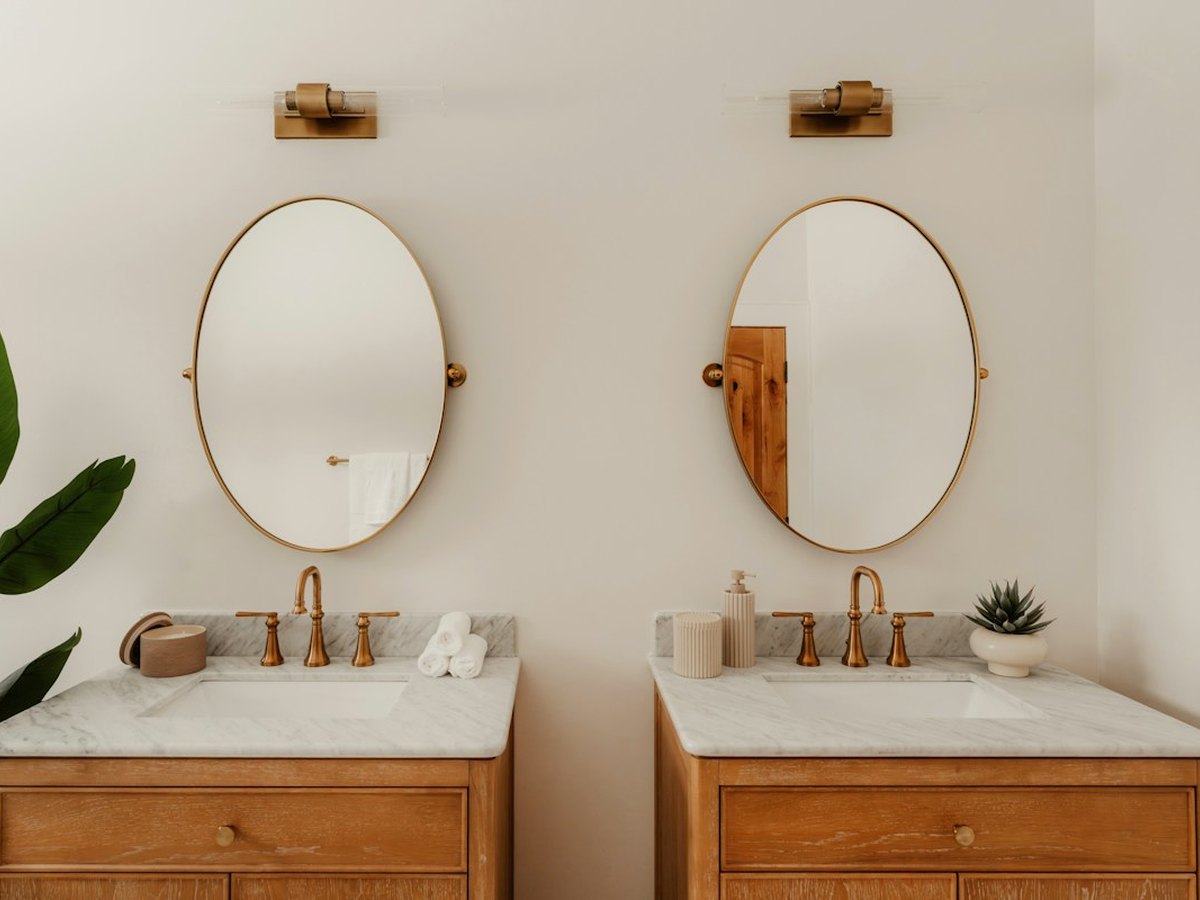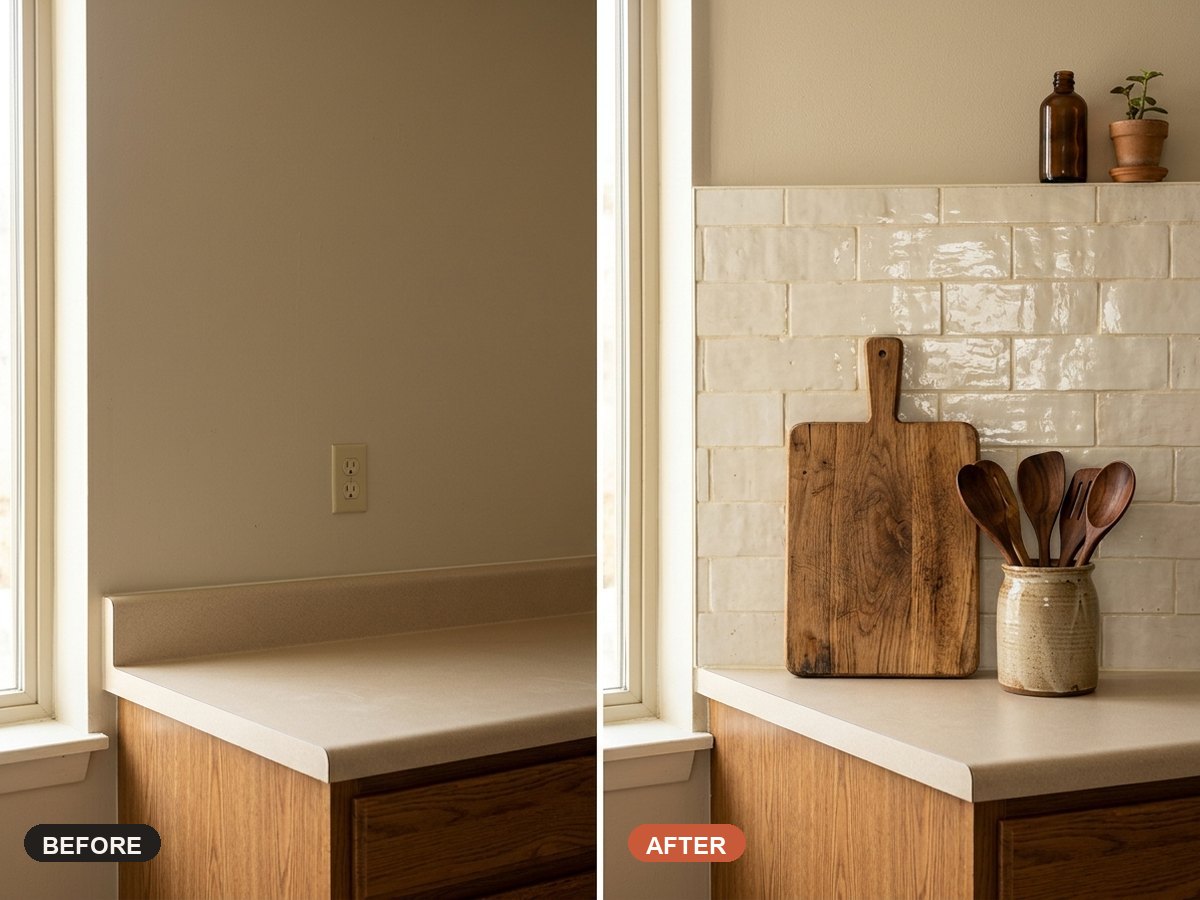
15-Minute Renter-Friendly Kitchen Cabinet Hardware Upgrade
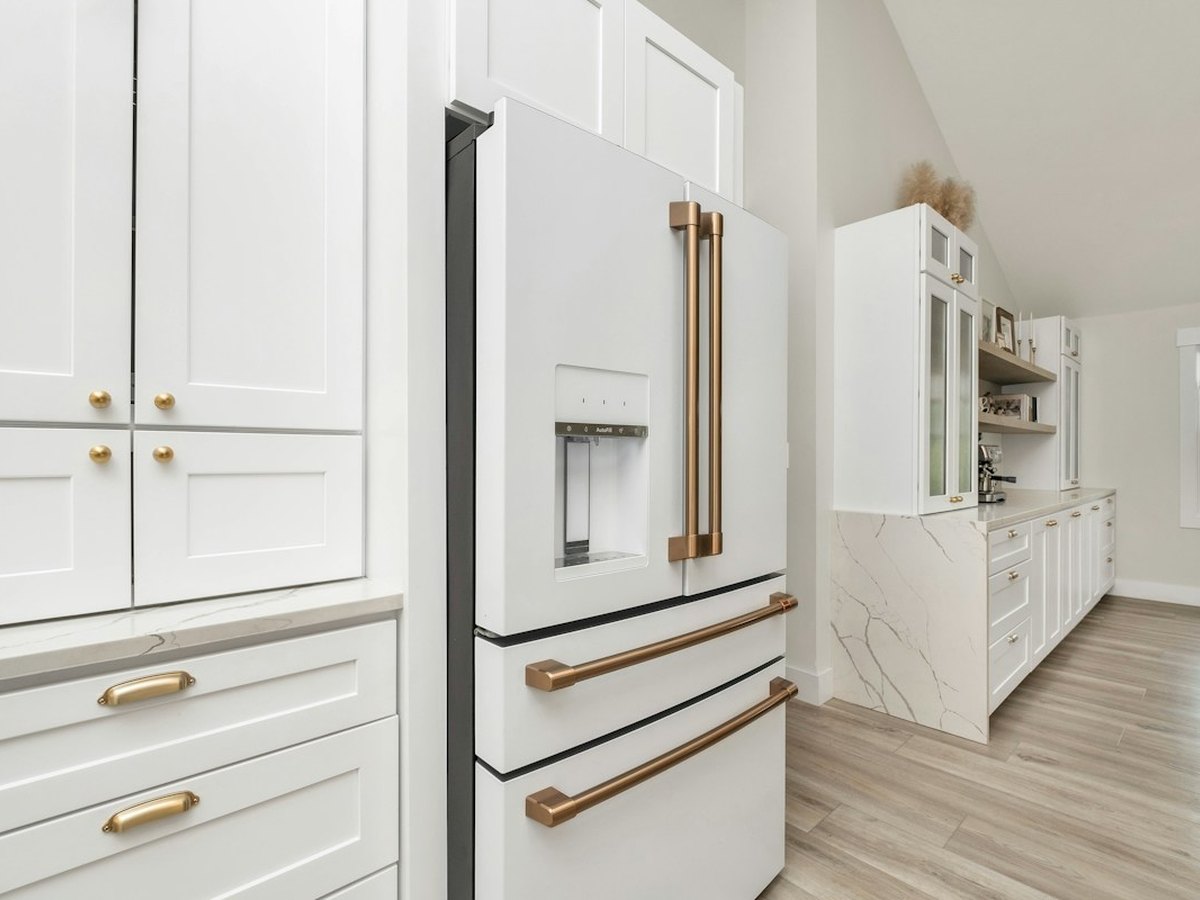
Swapping builder-grade silver knobs for warm champagne brass or matte black pulls is the highest-impact 15-minute upgrade you can do in a rental kitchen—zero new holes, zero deposit risk, and you take them with you when you move.
15-Minute Renter-Friendly Kitchen Cabinet Hardware Upgrade
Supplies Needed
Tools
- Phillips-head screwdriver (hand screwdriver avoids over-tightening)
- Measuring tape
- All-purpose cleaner & microfiber cloth
Step-by-Step Instructions
-
Measure exact screw-hole spacing
For 2-hole handles, measure from the exact center of screw hole #1 to the exact center of screw hole #2 (most US rentals are 3" or 3-3/4"). Single-hole knobs fit any standard knob!
-
Unscrew and bag every original piece
Remove the landlord's hardware one cabinet at a time and place every knob, pull, and screw into a labeled zip-top bag stored in your under-sink cabinet for effortless move-out.
-
Clean hidden grime behind old pulls
Wipe away kitchen grease rings around the screw holes with a damp microfiber cloth so your new finish sits flush and sparkling.
-
Install new brass or matte black hardware
Thread the new screws from inside the door and hand-tighten snugly with a screwdriver (skip power drills to avoid stripping soft cabinet wood).
-
Use backplates to hide old marks (optional)
If old knobs left permanent dents or paint lines, slip slim matching brass backplates underneath your new pulls for an even more bespoke look.
Pro Tips & Budget Variations
- Buy hardware in 10- or 25-packs online—it drops the price from $6/pull down to under $2/pull!
- Don't mix cool chrome faucets with shiny yellow gold—choose muted champagne bronze or matte black so it coordinates effortlessly.
- Do the bathroom vanity at the same time using leftover knobs from your multipack.
Frequently Asked Questions
What if my rental cabinets have NO holes at all?
Skip drilling—use sleek top-lip adhesive or slip-over edge pulls, or ask your landlord in writing (most say yes to tasteful modern knobs if you leave them behind).
Why won't my new knob screws reach through the drawer?
Drawer fronts are double-thick (box + decorative face). Use the longer 1.5-inch screws included in most multipacks or reuse the landlord's longer original screws.
Save This DIY for Later!
Pin this tutorial to your Renter Friendly DIY Room Upgrades board so you have the supply list handy on your next craft-store run.