Easy No-Sew Throw Pillow Covers Using Fabric Glue
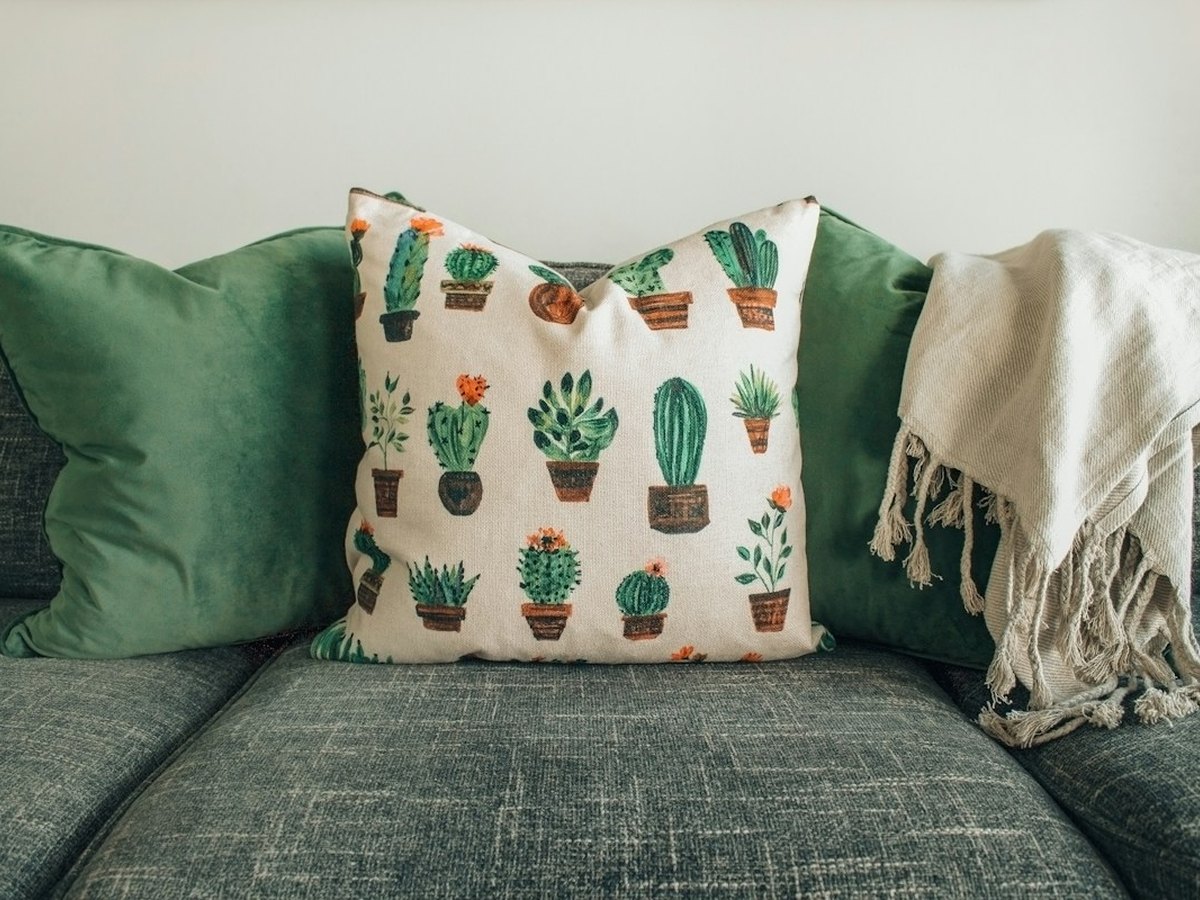
Designer linen throw pillows cost $50+ apiece, but you can refresh your entire sofa in 15 minutes with zero sewing skills—just iron-on hem tape or washable fabric glue and a $10 canvas drop cloth or linen remnant.
Easy No-Sew Throw Pillow Covers Using Fabric Glue
Supplies Needed
Tools
- Sharp fabric scissors
- Steam iron & ironing board
- Measuring tape & fabric pins
Step-by-Step Instructions
-
Wash, dry, and iron your fabric
Pre-wash linen or drop cloth so it softens up and won't shrink later. Press flat with a steam iron.
-
Cut one envelope rectangle
For an 18×18" cover (which fits a plump 20×20" insert), cut a single piece 19 inches wide by 42 inches long.
-
Hem the two short ends
Fold each 19-inch short edge under by 1/2 inch, sandwich iron-on hem tape inside, and press firmly with a damp cloth for 10 seconds.
-
Fold into an envelope and bond sides
Lay fabric right-side up, fold both hemmed ends inward so they overlap by 4 inches in the center (total height = 18"). Bond the left and right side seams with iron-on tape or a thin bead of fabric glue.
-
Turn right-side out and stuff
Let glue set 15 minutes, flip right-side out, poke out the corners with a pencil, and tuck in your fluffy pillow insert!
Pro Tips & Budget Variations
- Always buy inserts 2 inches larger than your finished cover (e.g., 20" insert in an 18" cover) for that designer 'karate-chop' fullness.
- Add iron-on pom-pom trim or flange edges before bonding the side seams for a boutique detail.
- Because it's an envelope back, you can slip the cover off anytime to swap colors for the next season.
Frequently Asked Questions
Are no-sew glued pillow covers machine washable?
Yes! Use 'Super Weight' fusible hem tape or Aleene's Permanent Fabric Fusion, wait 72 hours before washing, and wash cold on gentle cycle.
Why use a painter's drop cloth?
After one hot wash with bleach or baking soda, cotton canvas drop cloths soften into a gorgeous, heavy Belgian-linen look for a fraction of the price.
Save This DIY for Later!
Pin this tutorial to your DIY Home Decor on a Budget board so you have the supply list handy on your next craft-store run.