DIY Wall Painting Tips & Mistakes to Avoid Like a Pro
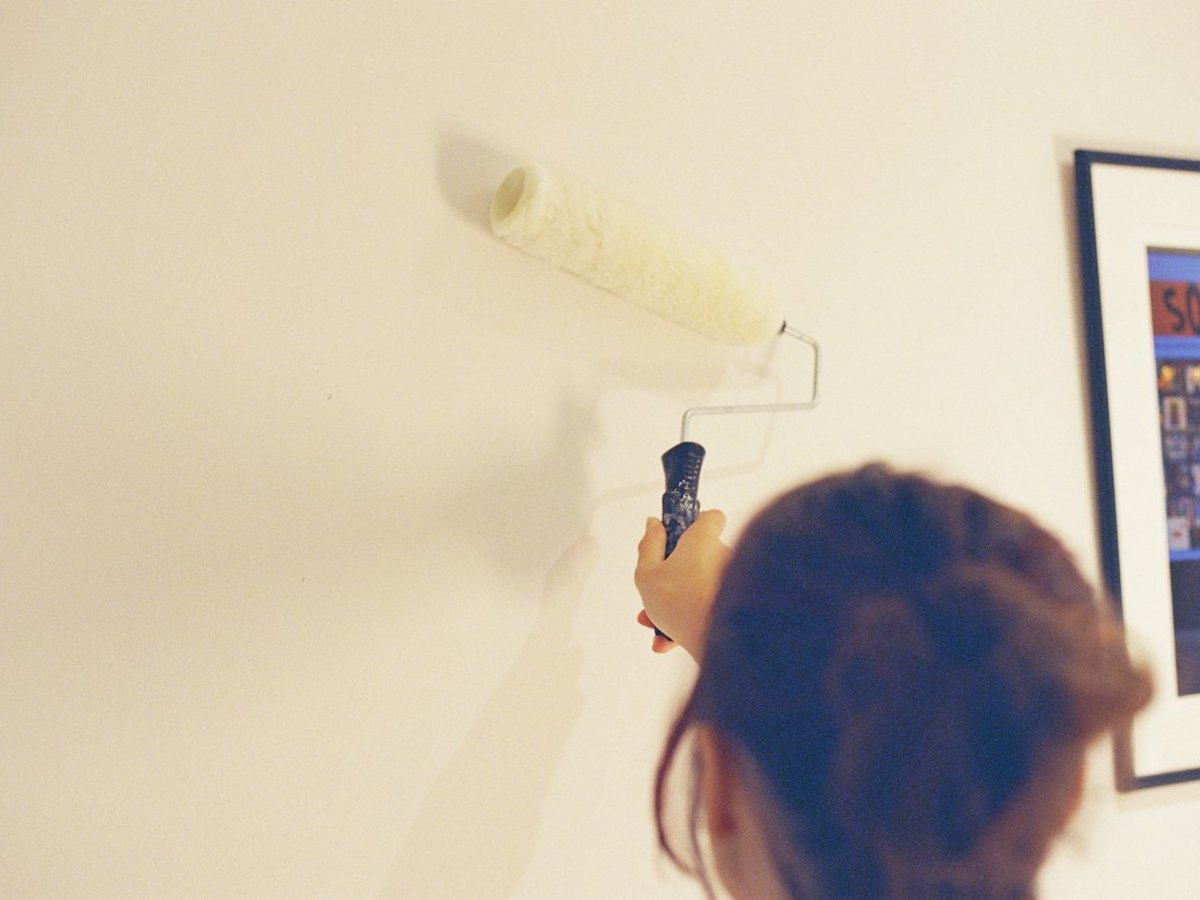
A fresh coat of paint is the fastest budget room makeover, yet sloppy corners, uneven roller sheen, and peeling primer can make a DIY paint job look amateur. Master these 4 pro painter habits before dipping your brush.
DIY Wall Painting Tips & Mistakes to Avoid Like a Pro
Supplies Needed
Tools
- 9-inch roller frame & extension pole
- Paint tray with disposable liners
- Canvas drop cloth & damp microfiber rag
- Metal brush comb for cleaning
Step-by-Step Instructions
-
Prep, patch, and prime bare drywall
Fill nail holes with spackle, sand smooth, wipe away dust, and roll a high-solid primer over patched areas so drywall doesn't soak up topcoat unevenly.
-
Cut in cleanly without 'skunking'
Brush a 2-inch band along corners and trim, then immediately roll up to 1/2 inch of the edge with a 4-inch mini roller while wet so brush marks blend seamlessly into roller stipple.
-
Choose the right paint sheen
Pick flat or matte for ceilings, eggshell for living rooms and bedrooms, and scrubbable satin or semi-gloss for kitchens, bathrooms, and baseboards.
-
Roll in overlapping 'W' sections
Keep a wet edge by rolling 3-foot sections in light overlapping strokes from ceiling to floor, finishing each pass in one direction to eliminate lap marks.
-
Clean and reshape brushes immediately
Rinse latex paint out under lukewarm water with a drop of dish soap, comb bristles straight, and store in the original cardboard sleeve so your brush stays razor-sharp.
Pro Tips & Budget Variations
- Peel painter's tape off at a 45° angle while the final coat is still slightly tacky so dried paint never tears.
- Wrap your roller tightly in plastic wrap or foil in the fridge overnight between coats to skip mid-project washing.
- Always 'box' (mix together) multiple cans of the same color in a 5-gallon bucket for 100% uniform tone.
Frequently Asked Questions
What is 'skunking' when painting a wall?
Skunking is the visible shiny or smooth stripe left around corners when brushed cut-in lines dry with a different texture than the rolled center of the wall. Feathering with a mini roller while wet fixes it completely.
Do I really need primer if my paint says paint-and-primer in one?
Over already-painted light walls in good shape, paint-and-primer works fine. Over bare drywall patches, dark colors, or glossy trim, a dedicated primer saves an extra coat and prevents peeling.
Save This DIY for Later!
Pin this tutorial to your DIY Home Decor on a Budget board so you have the supply list handy on your next craft-store run.