Easy DIY Textured Plaster Wall Art for Beginners
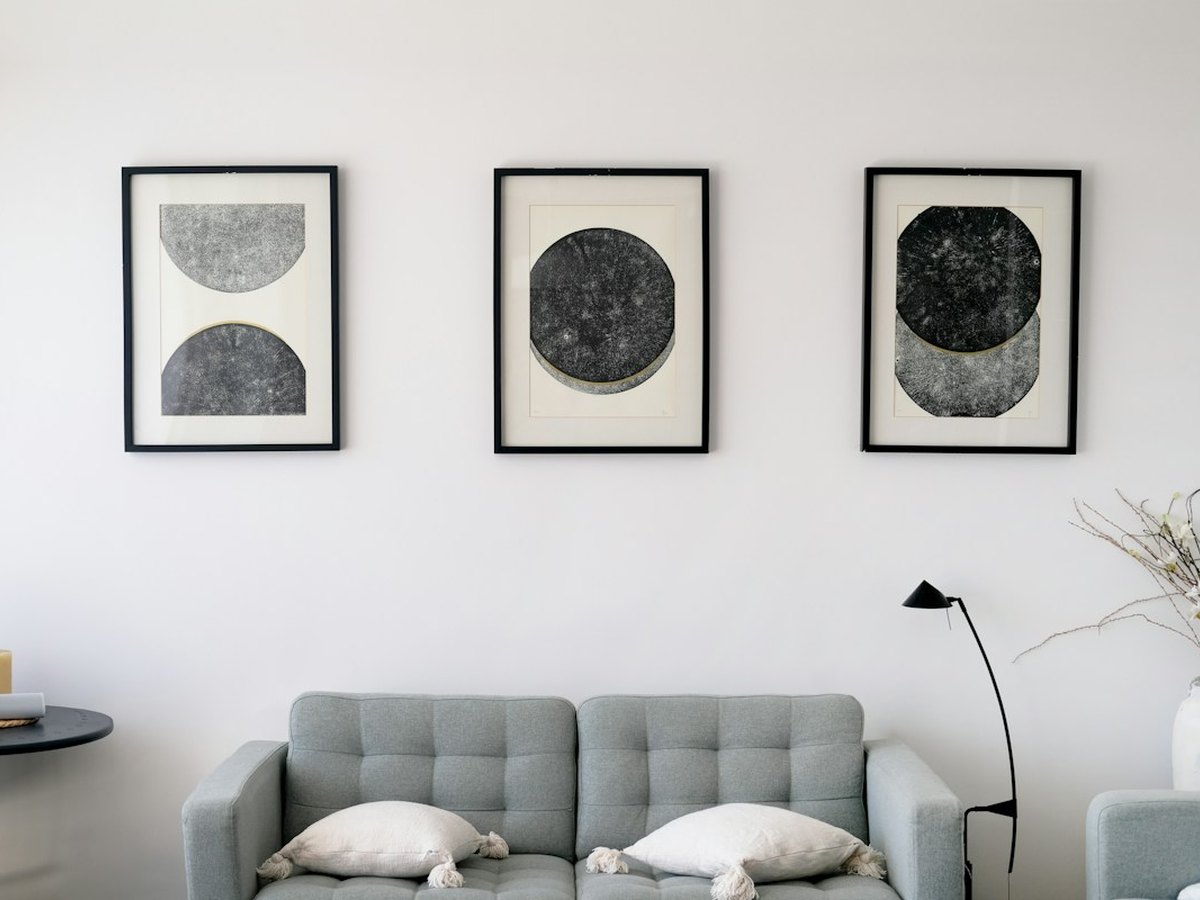
Large-scale minimalist plaster art easily retails for $300 to $600—but the secret is a $9 tub of hardware-store joint compound and a $4 notched adhesive spreader. Zero drawing skills required.
Easy DIY Textured Plaster Wall Art for Beginners
Supplies Needed
Tools
- Notched V-trowel or plastic tile spreader
- Putty knife
- Drop cloth
Step-by-Step Instructions
-
Prep and support the canvas
Place a stack of books underneath the back of the canvas so the fabric stays firm and doesn't sag while you spread plaster.
-
Mix anti-crack plaster
Scoop 2 cups of joint compound into a bowl and stir in 2 tablespoons of Mod Podge (or white PVA glue) so the dried plaster stays flexible and crack-free.
-
Spread a thin base layer
Use a putty knife to skim a 1/8-inch layer across the entire canvas, including the sides if leaving it unframed.
-
Comb your minimalist arches
Hold the notched trowel at a 45° angle and sweep clean, sweeping arches or overlapping waves in one confident pass. Practice on cardboard first!
-
Dry overnight and paint
Let dry flat for 12–24 hours until chalk-white. Brush on a coat of warm white or travertine beige paint to seal and give a soft matte sheen.
Pro Tips & Budget Variations
- Thrift store canvases with dated prints are the cheapest source for huge 30×40 inch frames—just plaster right over them!
- Build a simple DIY floater frame using 1×2 pine strips stained in walnut to double the high-end look.
- Keep ridges under 1/4 inch thick so the compound dries cleanly without hairline cracks.
Frequently Asked Questions
Why did my plaster art crack as it dried?
The layer was too thick or dried too quickly in direct sun. Mixing in a splash of Mod Podge and drying flat indoors prevents cracking.
Is it heavy to hang?
Lightweight joint compound adds very little weight—standard picture hooks or heavy-duty Command strips easily hold it.
Save This DIY for Later!
Pin this tutorial to your DIY Home Decor on a Budget board so you have the supply list handy on your next craft-store run.