IKEA Malm Dresser Flip with Fluted Wood Trim (Before & After)
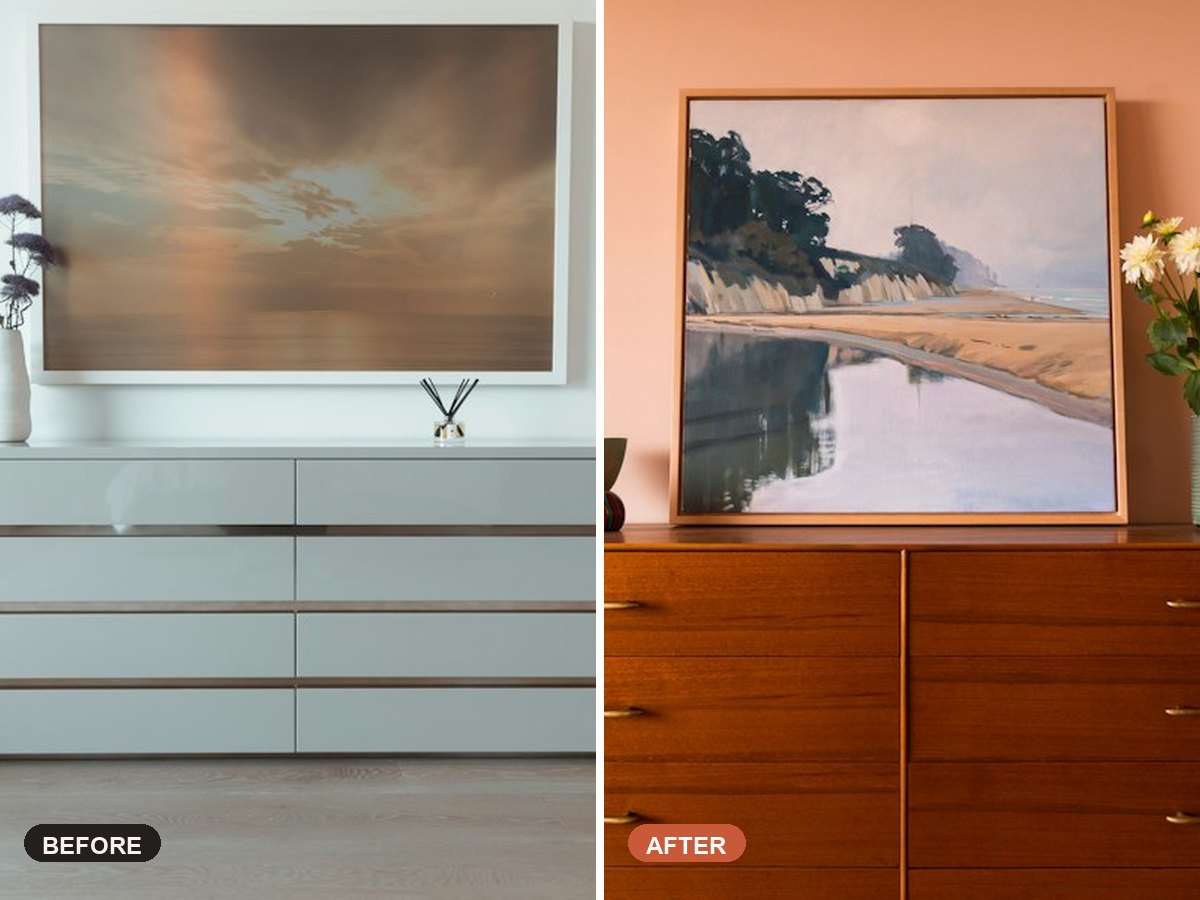
The classic IKEA Malm dresser is affordable and sturdy—and its flat drawer fronts are the ultimate blank canvas. Adding half-round wood dowel trim and brushed brass hardware turns it into a $1,200 mid-century designer statement.
IKEA Malm Dresser Flip with Fluted Wood Trim (Before & After)
Supplies Needed
Tools
- Miter shears or small hand miter box
- Fine 220-grit sandpaper
- Mini foam paint roller
- Measuring tape & drill
Step-by-Step Instructions
-
Remove drawers and scuff-sand laminate
Wipe the dresser frame and drawer fronts with a degreaser, then lightly scuff the glossy IKEA laminate with 220-grit sandpaper.
-
Prime the frame with shellac primer
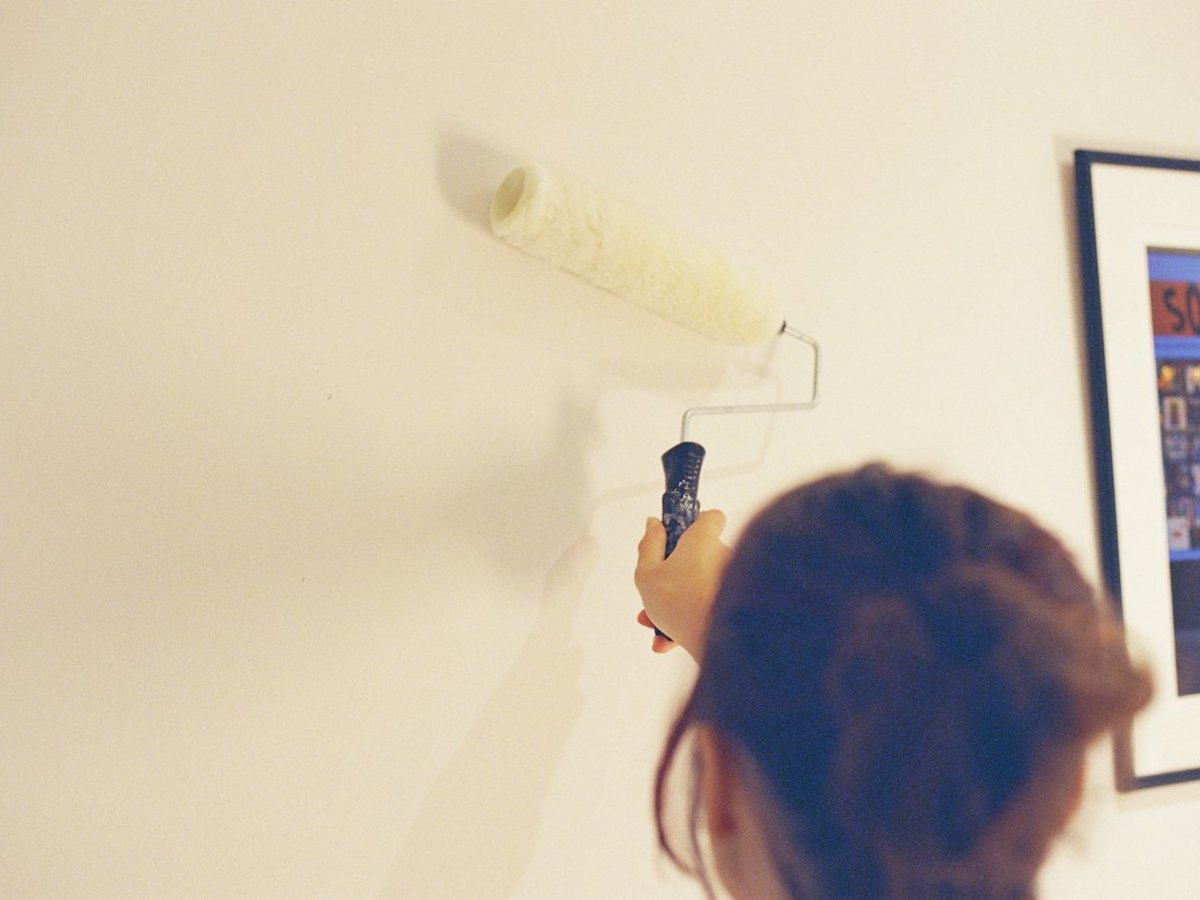
Roll two thin coats of shellac-based bonding primer onto the dresser body (this is crucial so paint never scratches off IKEA laminate). Paint in your chosen warm tone.
-
Cut half-round dowels to drawer height
Measure the exact height of each drawer front and snip half-round wood dowels cleanly to length using miter shears.
-
Glue fluted trim across each drawer
Run a thin line of wood glue down the back of each dowel and press tightly side-by-side across the drawer face. Use painter's tape to hold them snugly while drying 2 hours.
-
Stain dowels and install brass pulls
Wipe warm honey-oak or walnut stain over the fluted trim, seal with matte polycrylic, and screw brushed brass edge pulls onto the top lip of each drawer.
Pro Tips & Budget Variations
- Want a cleaner top? Glue a custom-cut 1×16 stained pine panel over the top of the Malm for a rich solid-wood contrast.
- Add 4-inch tapered mid-century wood legs to the bottom frame to lift the dresser off the floor.
- Let furniture paint cure for 5–7 days before placing heavy lamps or trays on top.
Frequently Asked Questions
Do I need a nail gun to attach the fluted trim?
No! Good wood glue plus painter's tape clamping (or a few tiny dabs of hot glue for instant hold while wood glue cures) works cleanly with zero nail holes to fill.
Why does paint peel off IKEA furniture?
Skipping shellac or high-adhesion bonding primer! Regular latex primer won't grip smooth melamine laminate.
Save This DIY for Later!
Pin this tutorial to your DIY Furniture Flips & IKEA Hacks board so you have the supply list handy on your next craft-store run.