Budget IKEA Billy Bookcase Built-In Hack for Beginners

Custom floor-to-ceiling built-ins can easily cost $4,000+, but joining 2–3 IKEA Billy bookcases with simple store-cut pine trim, caulk, and matte sage or warm linen paint creates the exact same architectural library look for a fraction of the price.
Budget IKEA Billy Bookcase Built-In Hack for Beginners
Supplies Needed
Tools
- Cordless drill, stud finder & spirit level
- 18-gauge brad nailer (or wood glue + painter's tape)
- 4-inch flocked foam roller & angled sash brush
- Caulk gun & 220-grit sanding block
Step-by-Step Instructions
-
Assemble, level, and anchor to studs
Build your Billy bookcases, set them side-by-side on a level 2×4 toe-kick base (or notch the baseboard behind them), screw adjacent frames together cleanly, and anchor every unit into wall studs.
-
Cover seams with flat pine trim
Attach 1×2 pine boards vertically over the seams where units meet, add a 1×4 header board across the top, and wrap baseboard molding continuously across the bottom.
-
Fill holes and caulk every joint
Press spackle into unused shelf-pin holes and nail holes, sand smooth when dry, and run a thin bead of paintable caulk along every trim seam—this is what sells the built-in illusion!
-
Prime IKEA laminate with shellac
Scuff-sand lightly with 220-grit, wipe clean, and roll 1–2 coats of shellac-based bonding primer so your topcoat never scratches off.
-
Roll cabinet enamel & add library lights
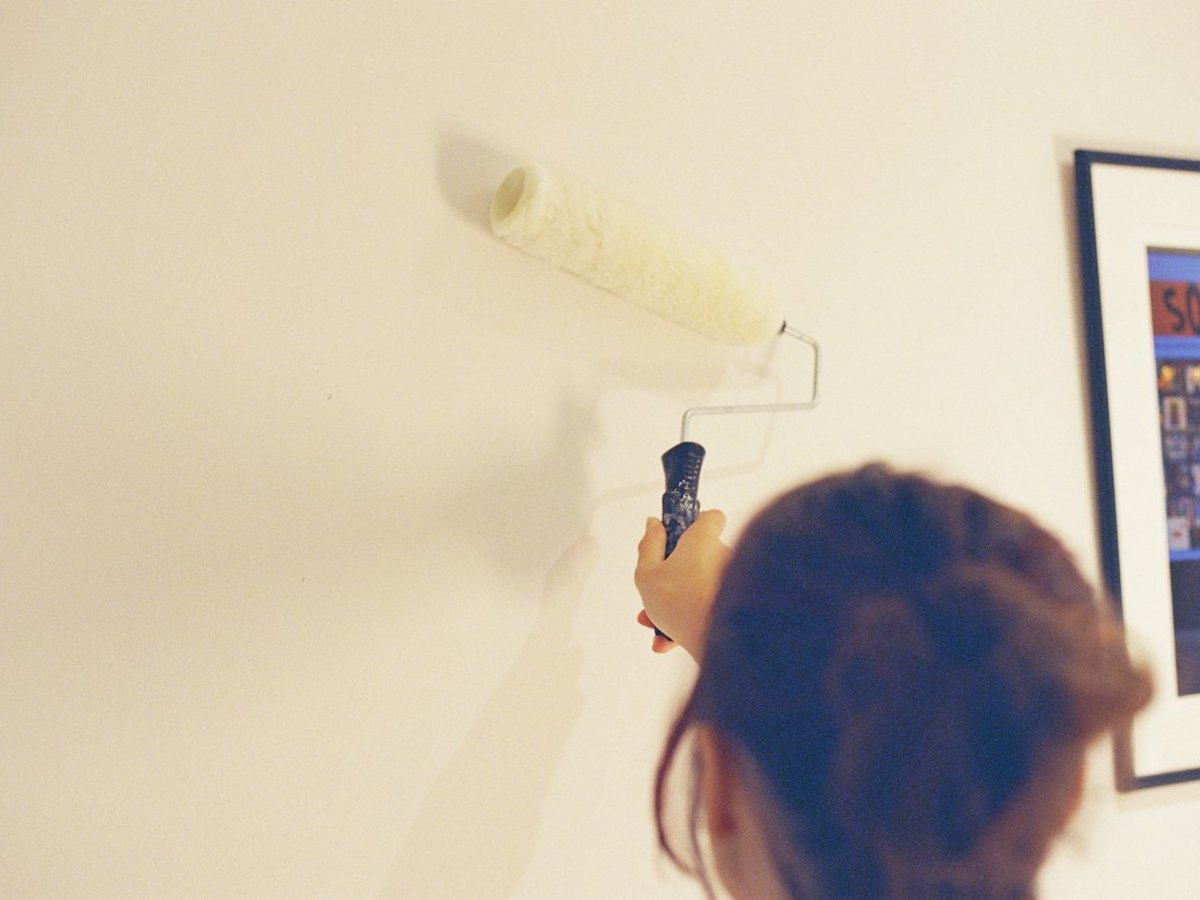
Apply two smooth coats of satin cabinet enamel with a 4-inch flocked foam roller, let cure 3 days before loading heavy books, and mount wireless rechargeable brass picture lights on top!
Pro Tips & Budget Variations
- Paint the back panel the same color as the shelves—or line the back with peel-and-stick grasscloth wallpaper for designer texture.
- Add IKEA Oxberg glass or panel doors to the bottom half for hidden toy/board-game storage.
- Always wait 48–72 hours after painting before setting heavy ceramics on shelves so paint doesn't stick.
Frequently Asked Questions
Do I need a miter saw for the trim?
Not if you use flat Shaker-style 1×2 and 1×4 pine trim! All cuts are simple 90° straight cuts that the hardware store can cut for you.
How do I cover all the tiny shelf pin holes?
Press lightweight spackle into unused pin holes with your finger, wipe excess with a damp cloth, and prime right over them.
Save This DIY for Later!
Pin this tutorial to your DIY Furniture Flips & IKEA Hacks board so you have the supply list handy on your next craft-store run.