How to Make Reusable Beeswax Food Wraps at Home
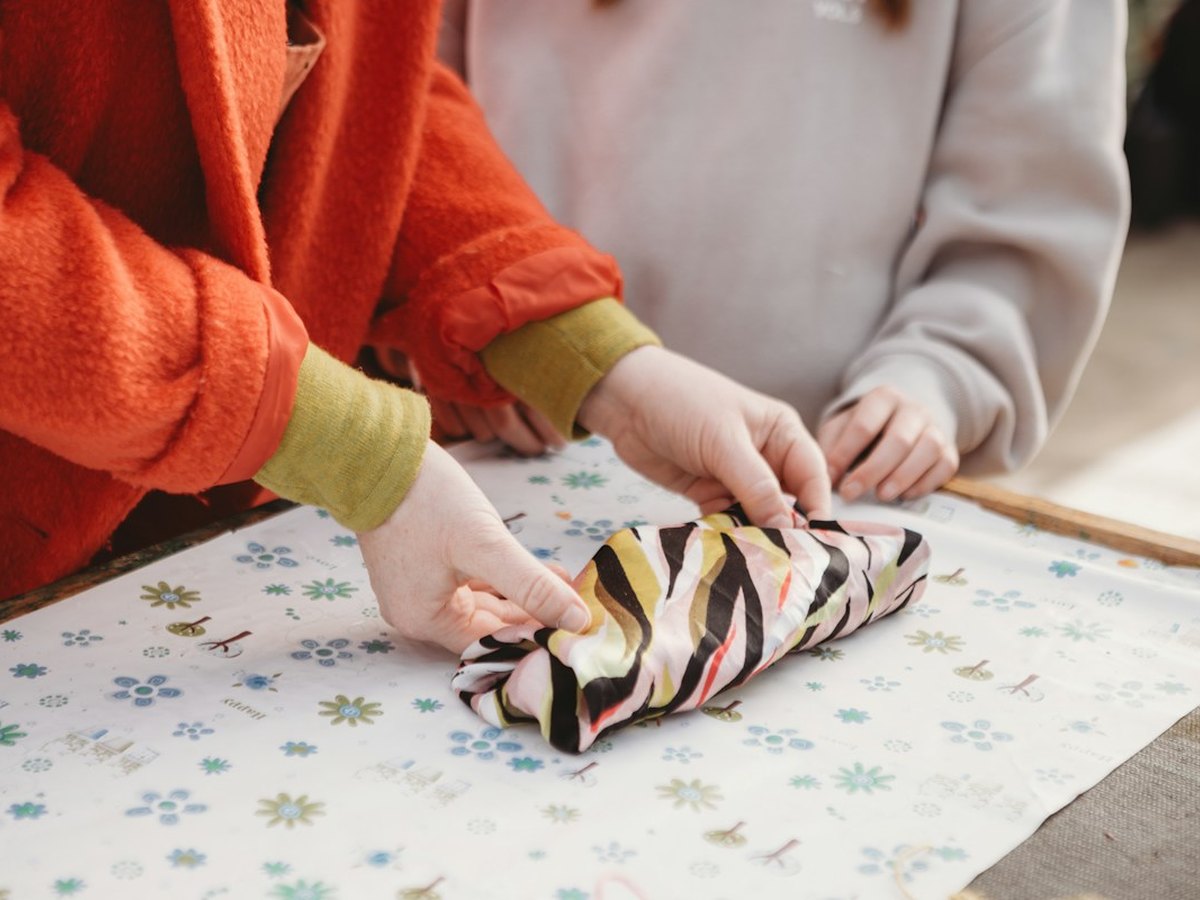
Store-bought beeswax wraps cost $18 for a tiny pack of three, yet you can make a dozen gorgeous custom wraps at home in 15 minutes using cotton fabric scraps and natural beeswax pellets.
How to Make Reusable Beeswax Food Wraps at Home
Supplies Needed
Tools
- Pinking shears (prevents fabric fraying)
- Rimmed baking sheet
- Clean craft paintbrush (dedicated to wax)
- Clothespins & string for drying
Step-by-Step Instructions
-
Cut fabric with pinking shears
Preheat your oven to 225°F (107°C). Cut pre-washed 100% cotton into small (7×7"), medium (10×10"), and large (13×13") squares using pinking shears.
-
Sprinkle beeswax evenly
Line a baking sheet with parchment paper, lay one fabric square flat, and sprinkle a light, even layer of beeswax pellets (about 1.5–2 tbsp for a 10" square) right to the edges.
-
Melt in the oven for 5 minutes
Bake for 4–6 minutes until every pellet has completely melted into glossy pools.
-
Brush to coat every corner
Remove the tray and quickly brush the melted wax evenly across any dry spots with your paintbrush. (Pop back in the oven for 1 minute if it cools too fast.)
-
Lift and air-dry
Carefully lift the wrap by two corners and wave gently for 30 seconds, then hang over a string or chair back for 2 minutes until completely set.
Pro Tips & Budget Variations
- The warmth of your hands molds the wrap tightly around bowls, half avocados, cheese blocks, and sandwiches.
- Wash wraps in cool water with mild dish soap—never hot water or the dishwasher, which melts the wax.
- Roll three sizes together with twine and a care tag for an effortless zero-waste gift.
Frequently Asked Questions
Why aren't my wraps sticky enough?
Adding a tiny pinch of pine rosin (food grade) alongside a few drops of jojoba oil makes wraps extra clingy, though pure beeswax works great for folding over bowls.
How long do homemade beeswax wraps last?
About 6–12 months of regular use—and you can refresh them anytime by sprinkling a few fresh pellets on and re-melting in the oven!
Save This DIY for Later!
Pin this tutorial to your Easy DIY Crafts for Adults board so you have the supply list handy on your next craft-store run.