Easy Homemade Soy Candle Making Tutorial for Beginners
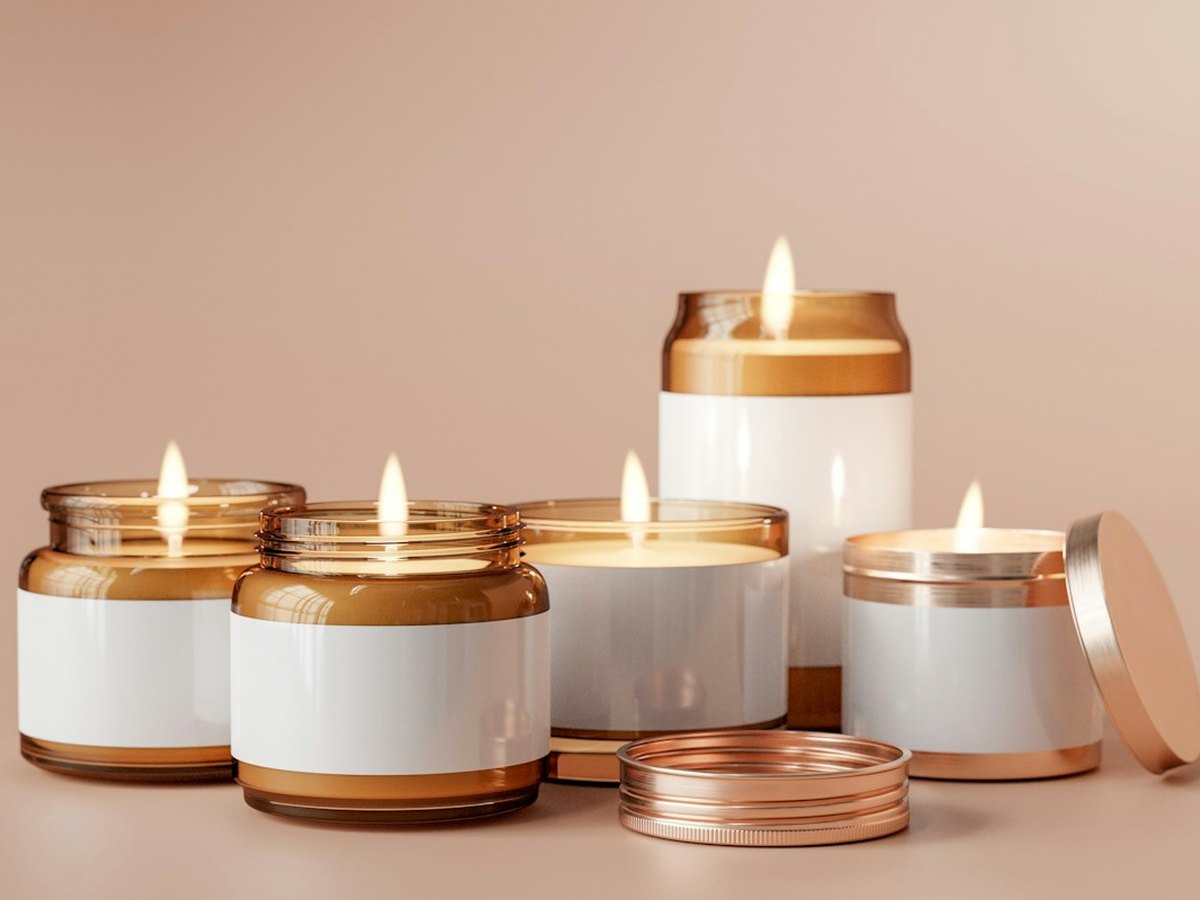
Skip $32 boutique candles and pour your own clean-burning soy candles at home. Once you know the right melting and pouring temperatures, you'll get creamy, glass-smooth tops every single time.
Easy Homemade Soy Candle Making Tutorial for Beginners
Supplies Needed
Tools
- Pouring pitcher & saucepan (double boiler)
- Digital kitchen scale
- Instant-read thermometer
- Wick centering bars or chopsticks
Step-by-Step Instructions
-
Prep and wick your jars
Wash and dry your jars. Stick a wick tab to the exact center of the bottom using a wick sticker, then secure the top of the wick straight across the rim with a centering bar.
-
Melt the soy wax
Weigh 14 oz of soy wax flakes into your pouring pitcher. Melt gently over simmering water (double boiler) until the wax reaches 185°F.
-
Add fragrance oil at 185°F
Remove from heat, add 1 oz of fragrance oil (about 7% load), and stir gently for a full 2 minutes so the oil binds completely to the wax.
-
Cool and pour at 135°F
Let the wax cool to 135°F—pouring cooler prevents sinkholes and rough tops. Pour slowly into your jars, leaving 1/2 inch of headroom.
-
Cure before lighting
Let candles sit undisturbed overnight. Trim wicks to 1/4 inch. For the strongest scent throw, cure with lids on for 7–14 days before burning.
Pro Tips & Budget Variations
- Warm your glass jars slightly with a hair dryer before pouring to prevent frosted 'wet spots' on the glass.
- Always measure wax and fragrance by weight (grams or ounces), never by cup volume.
- Print minimalist kraft-paper labels to turn these into under-$6 handmade holiday gifts.
Frequently Asked Questions
Can I use essential oils instead of fragrance oils?
You can, though pure essential oils often have a lighter scent throw in soy wax and lower flash points. Start with skin-safe, candle-tested fragrance oils for reliable results.
How do I fix a bumpy top?
Pass a hair dryer or heat gun lightly over the top for 15 seconds until just melted, then let it re-solidify flat.
Save This DIY for Later!
Pin this tutorial to your Easy DIY Crafts for Adults board so you have the supply list handy on your next craft-store run.