Easy Air-Dry Clay Trinket & Ring Dish DIY for Adults
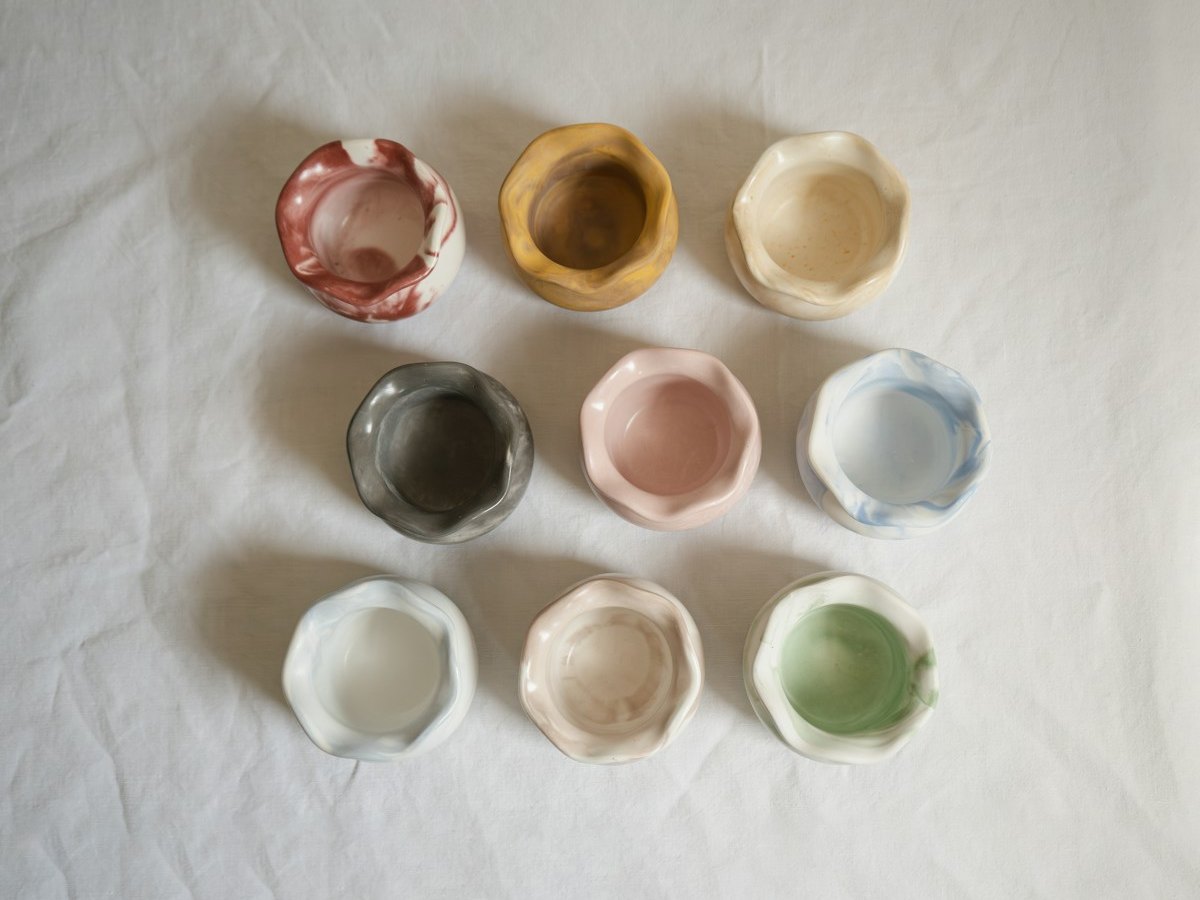
Craving a relaxing, screen-free Sunday afternoon craft? Air-dry clay gives you the tactile joy of pottery right at your kitchen table—no pottery wheel or kiln required—and makes gorgeous minimalist ring dishes.
Easy Air-Dry Clay Trinket & Ring Dish DIY for Adults
Supplies Needed
Tools
- Rolling pin & parchment paper
- Small ceramic bowl (for shaping the curve)
- Small cup of water & craft knife
- 220-grit sandpaper
Step-by-Step Instructions
-
Roll clay to 1/4 inch
Knead a golf-ball-sized piece of clay until soft, then roll out on parchment paper to an even 1/4-inch slab.
-
Cut and smooth the rim
Trace around a small bowl or freehand an organic pebble shape with a craft knife. Dip your finger in water to smooth the cut edges until silky.
-
Shape inside a bowl and stamp
Gently press a pressed leaf, letter stamp, or scalloped pattern into the clay, then drape the slab inside a small cereal bowl to form a gentle dish curve.
-
Air-dry slowly for 48 hours
Let dry untouched for 24 hours, pop out of the bowl, and dry another 24 hours bottom-up until bright white and cool to the touch. Sand rough spots lightly with 220-grit.
-
Paint, gild the rim, and seal
Paint in soft matte tones or leave crisp white, trace the top edge with a metallic gold paint pen, and brush on 2 coats of gloss varnish for a true glazed-ceramic shine.
Pro Tips & Budget Variations
- Keep a damp paper towel over unused clay in a zip-top bag so it stays soft for future crafts.
- Never speed-dry air-dry clay in the oven—slow air-drying prevents warping and cracking.
- These dishes are decorative (jewelry, keys, candles) and not food-safe or waterproof for standing water.
Frequently Asked Questions
What is the best air-dry clay that doesn't crack?
DAS Air-Hardening Clay has fine paper fibers mixed in that make it noticeably stronger and smoother than basic school clays.
How do I get that real shiny ceramic glaze look?
Apply 2–3 thin coats of Triple Thick Gloss Glaze or water-based polyurethane gloss once the paint is fully dry.
Save This DIY for Later!
Pin this tutorial to your Easy DIY Crafts for Adults board so you have the supply list handy on your next craft-store run.