Budget DIY Wood Slat Accent Wall Before and After
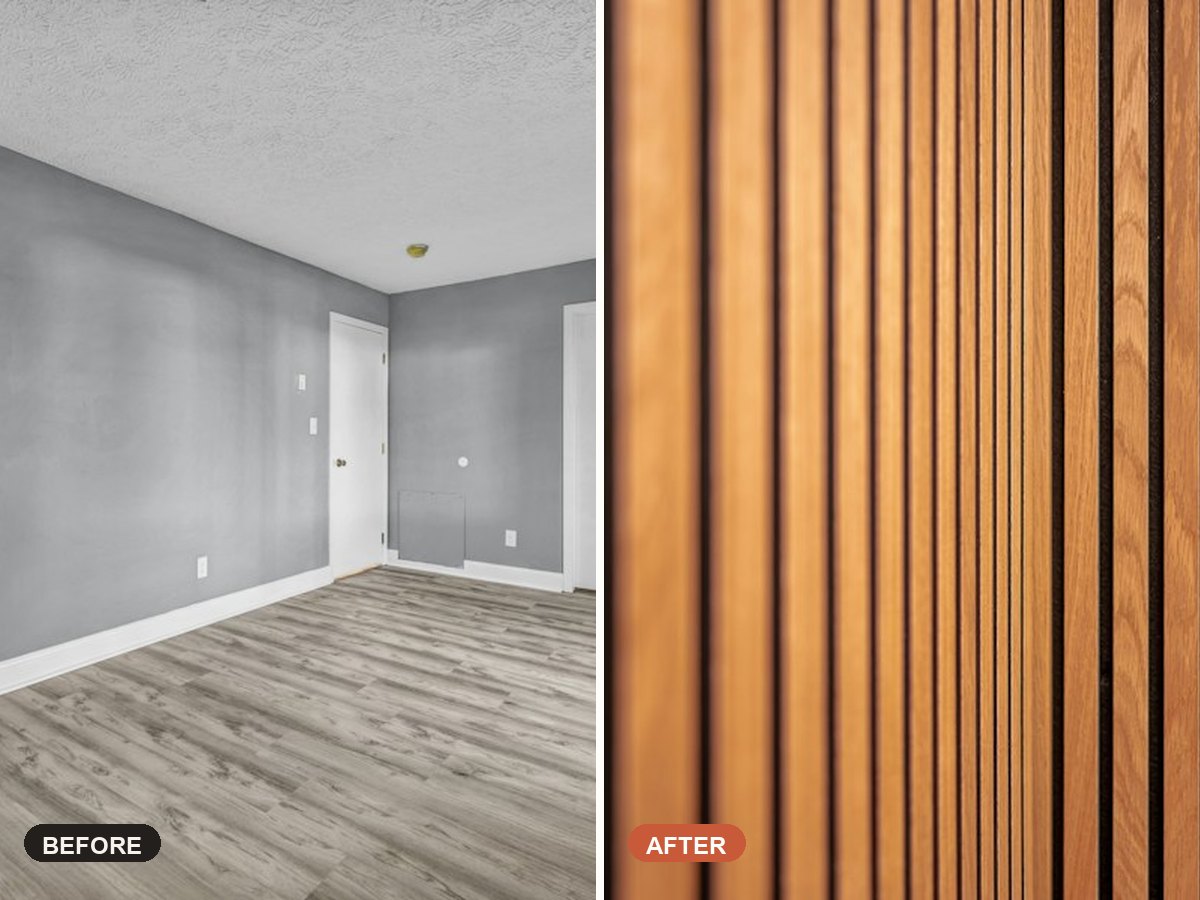
Pre-made acoustic wood slat panels cost $600+ for a single wall, but you can achieve the exact same architectural warmth using inexpensive 1×2 pine furring strips, dark matte backdrop paint, and a simple scrap-wood spacer.
Budget DIY Wood Slat Accent Wall Before and After
Supplies Needed
Tools
- Miter saw (or store-cut to ceiling height)
- 18-gauge brad nailer (or hammer + finish nails)
- 4-foot spirit level & stud finder
- Sanding block & stain rags
Step-by-Step Instructions
-
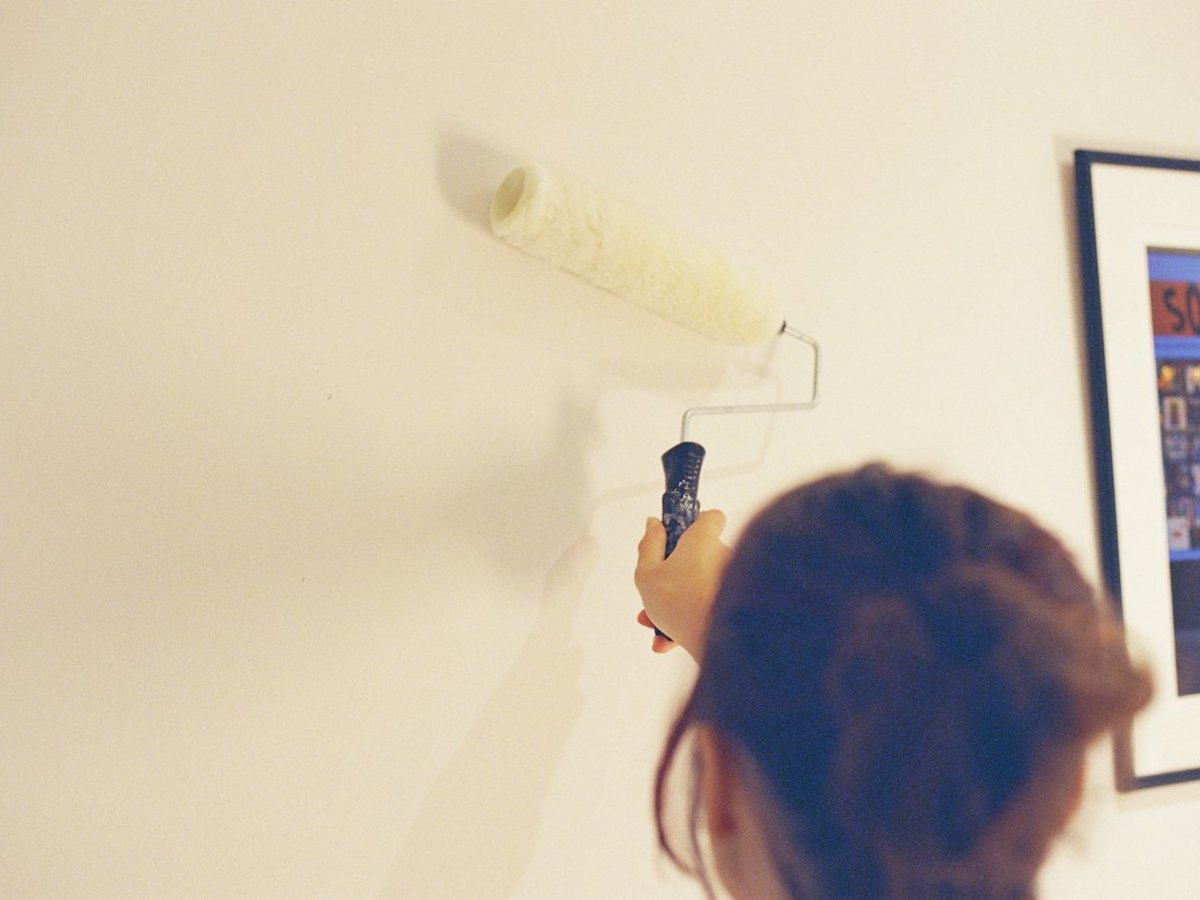
Paint the wall dark first
Roll two coats of matte espresso charcoal or deep black behind where the slats will go. This creates dramatic shadow depth between every wood strip.
-
Calculate slat count and cut to height
Measure your wall height (subtract baseboard height) and width. Formula: Total Wall Width ÷ (Slat Width 1.5" + Gap Width 0.75") = Number of Slats. Cut all slats cleanly to length.
-
Sand and stain BEFORE mounting
Always sand and stain all four sides of every pine strip on sawhorses or cardboard before putting them on the wall—it's 10× faster and keeps your dark wall spotless.
-
Nail the first slat dead-plumb
Never trust the corner wall to be straight! Use a 4-foot level to align your very first vertical slat perfectly plumb, then secure with 2-inch brad nails every 16 inches.
-
Use a spacer block for effortless speed
Cut a 3/4-inch scrap wood block (or use a spare 1×2 turned sideways). Hold the spacer snugly against the mounted slat, press the next slat flush, nail it in, and repeat across the wall!
Pro Tips & Budget Variations
- Renter-friendly adaptation: mount the slats onto thin 1/4-inch dark-painted plywood backing panels, then screw those panels into wall studs with just 4–6 screws total!
- Angle your brad nails slightly up and down in alternating pairs so slats grip drywall tightly even between studs.
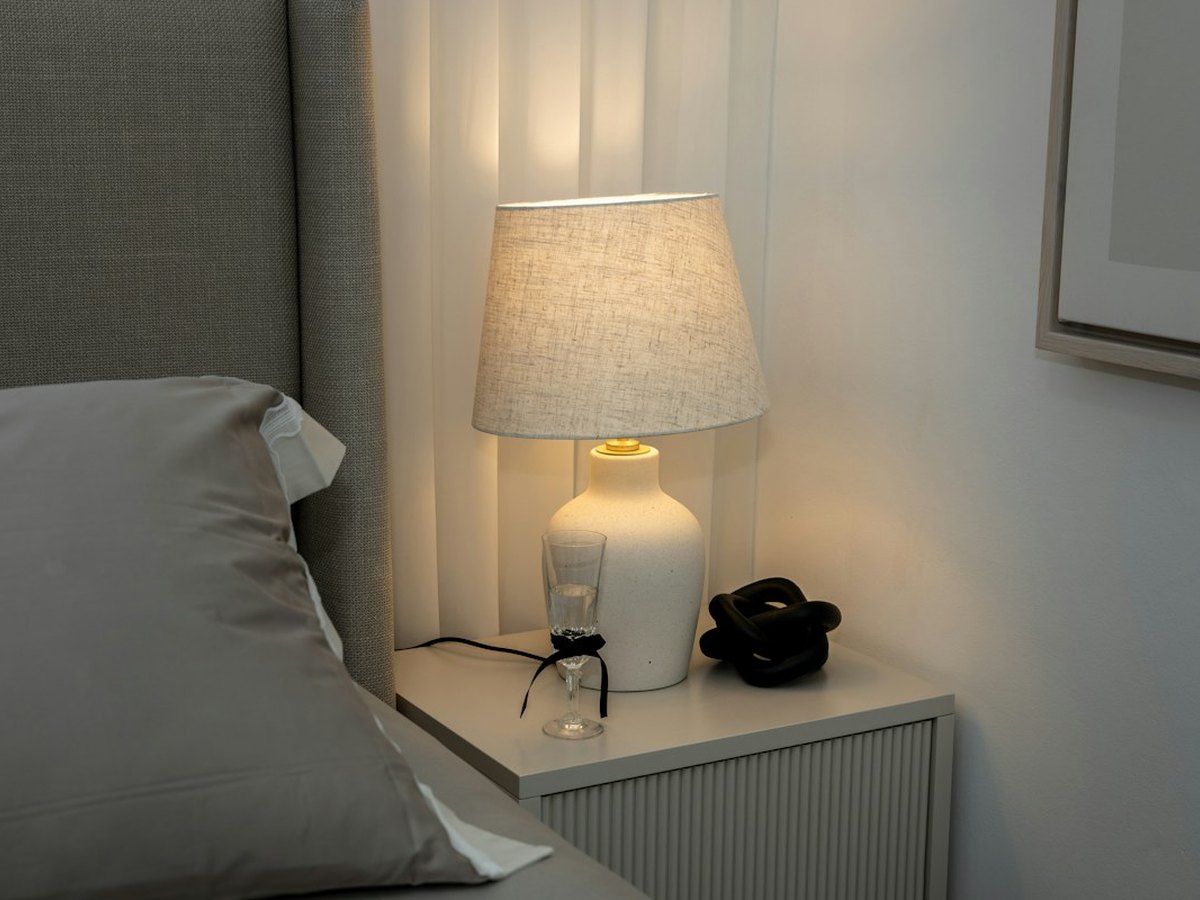
- Pair your wood slat wall with a warm wall sconce or floating shelf for instant designer drama.
Frequently Asked Questions
What is the best gap spacing between wood slats?
Half the width of your slat looks most balanced—for 1.5-inch wide 1×2 strips, a 0.75-inch gap gives a clean, modern architectural rhythm.
Do I need to remove my baseboard?
No! Rest the bottom of your vertical slats cleanly right on top of the existing baseboard for a crisp built-in finish.
Save This DIY for Later!
Pin this tutorial to your DIY Home Decor on a Budget board so you have the supply list handy on your next craft-store run.