How to Rub 'n Buff Thrifted Frames for a Vintage Gallery Wall
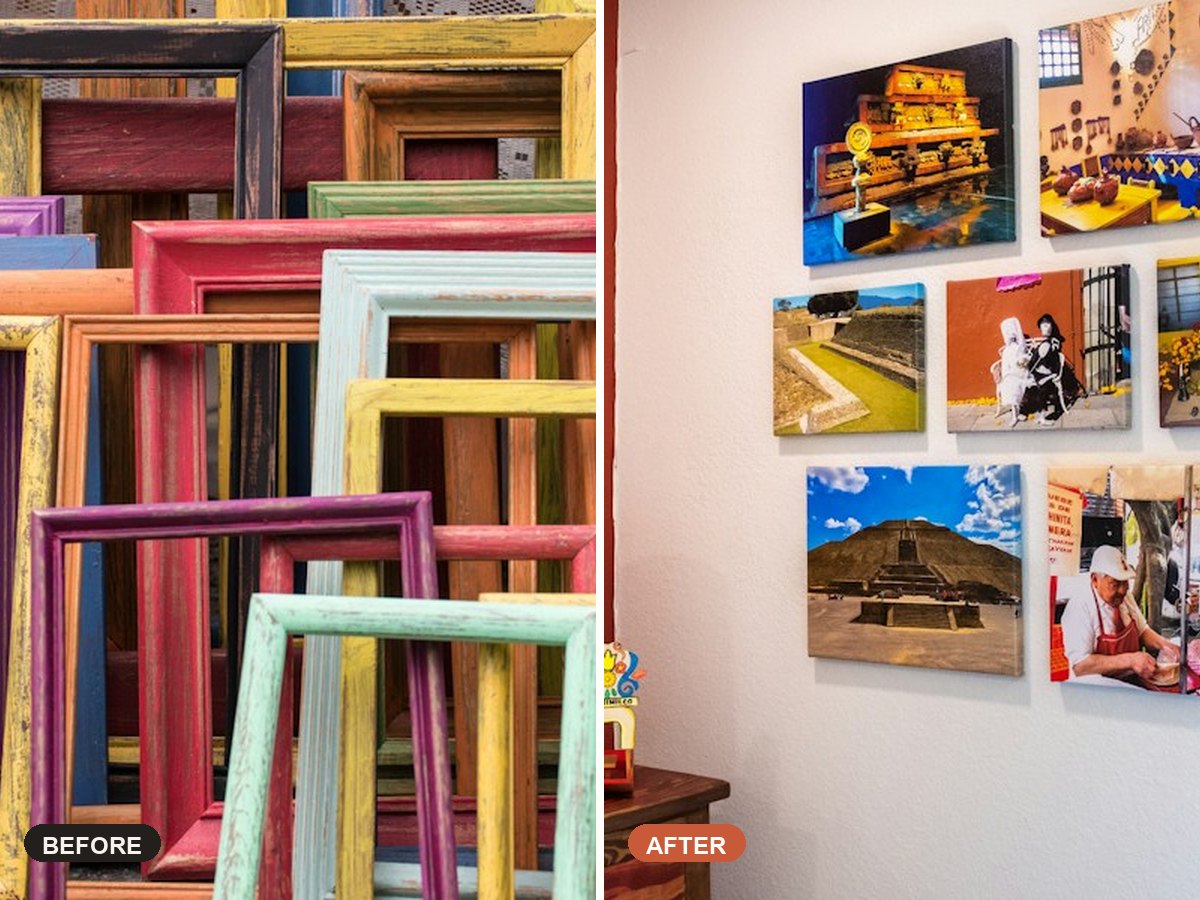
Curated antique brass gallery walls look like they took years of flea-market hunting—but you can fake the entire collection in one afternoon with mismatched $3 thrift frames and a single tube of Rub 'n Buff wax.
How to Rub 'n Buff Thrifted Frames for a Vintage Gallery Wall
Supplies Needed
- 5–7 mismatched thrifted ornate wood or resin frames — 5–7 frames Shop →
- Rub 'n Buff metallic wax in Antique Gold or European Gold — 1 tube (0.5 oz) Shop →
- Public-domain vintage landscape art prints (printed at local copy shop) — 5–7 prints Shop →
- Kraft paper roll (for stress-free wall layout) — 1 roll Shop →
Tools
- Stiff stencil brush or soft lint-free cloth
- Painter's tape & scissors
- Hammer & picture hooks (or Command strips)
- Spirit level
Step-by-Step Instructions
-
Remove glass and clean frames
Pop out the backing and glass from every thrifted frame. Wipe down ornate crevices with a slightly damp cloth and let dry.
-
Apply Rub 'n Buff sparingly
Squeeze a pea-sized dot of Antique Gold Rub 'n Buff onto a stiff brush or gloved finger and buff in thin circles over the entire frame. A little goes a huge way!
-
Buff to an heirloom sheen
Wait 15 minutes, then buff lightly with a soft clean cloth to bring out a warm, muted antique brass luster (leave darker wood peeking slightly in deep crevices).
-
Map the layout with kraft paper
Trace each frame onto brown kraft paper, cut out templates, and tape them to your wall spaced 2–3 inches apart until the balance feels effortless.
-
Hang and insert vintage art
Hammer hooks right through the paper templates, tear the paper away, and hang your newly gilded frames filled with moody vintage landscapes and family photos.
Pro Tips & Budget Variations
- Mix at least one oval or arched frame into rectangular frames so the gallery wall feels collected rather than rigid.
- Print public-domain museum art (from the Met or Art Institute of Chicago) on matte heavyweight cardstock—zero glare!
- Keep the center of your gallery wall at eye level (about 57–60 inches from the floor).
Frequently Asked Questions
Which Rub 'n Buff shade looks most like real antique brass?
'Antique Gold' is muted and moody; 'European Gold' is slightly brighter and warmer. Blending both gives a super authentic vintage patina.
Does Rub 'n Buff need a topcoat?
No—once buffed and cured for 24 hours, the carnauba wax formula is dry to the touch and won't rub off on hands.
Save This DIY for Later!
Pin this tutorial to your Thrift Flip & Upcycled Decor Ideas board so you have the supply list handy on your next craft-store run.