Thrift Store Lamp Flip Before and After Under $15
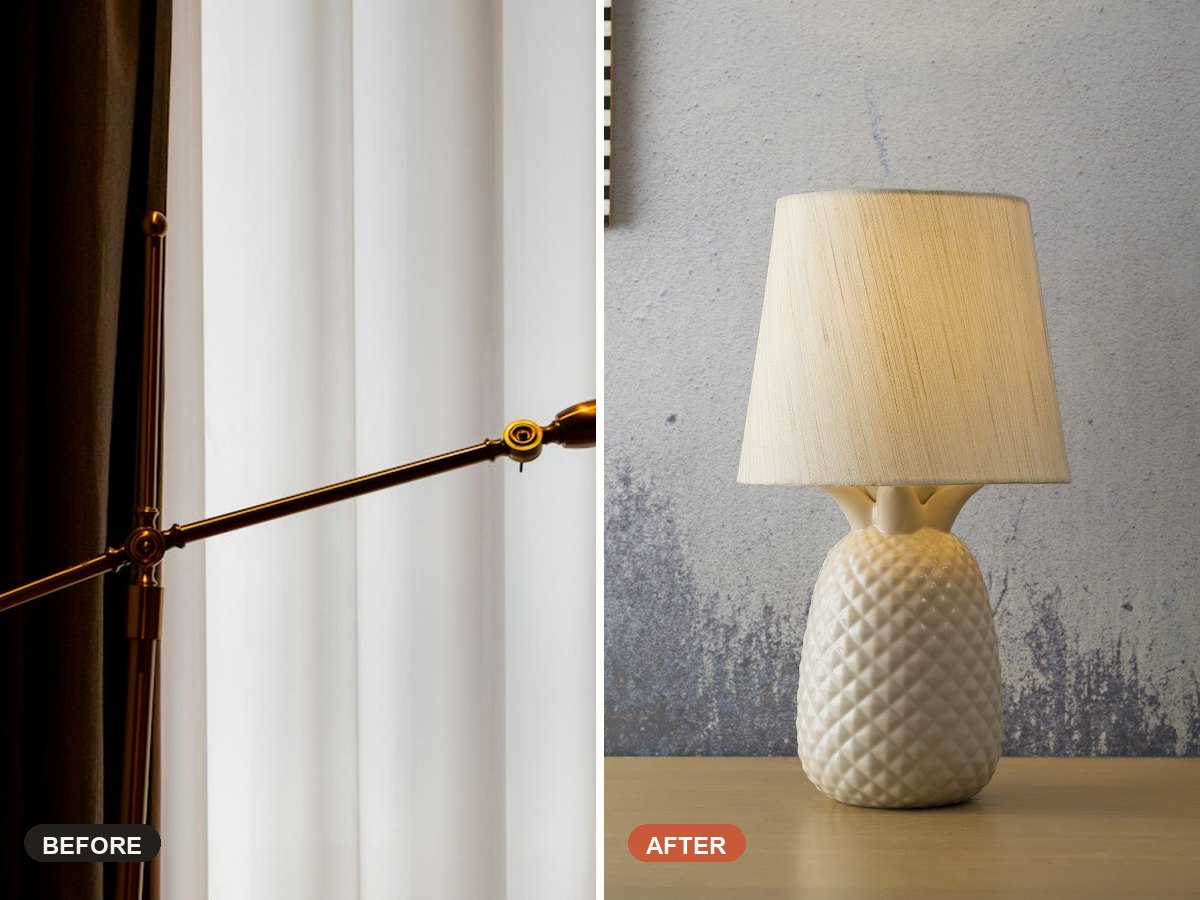
Thrift store shelves are packed with $5–$8 lamps that have great silhouettes buried under dated 90s brass or glossy floral paint. Look only at the shape—you can transform the finish into designer plaster stoneware in one evening.
Thrift Store Lamp Flip Before and After Under $15
Supplies Needed
Tools
- Painter's tape & plastic bag (to mask cord and socket)
- 220-grit sanding sponge
- Chip brush & sea sponge
Step-by-Step Instructions
-
Test the wiring and mask hardware
Always test the lamp at the thrift store. At home, wrap the socket, harp, and cord tightly with painter's tape and a small plastic bag.
-
Scuff-sand and prime
Lightly scuff shiny brass or glazed ceramic with 220-grit sandpaper, wipe clean, and mist on one even coat of bonding primer. Let dry 30 minutes.
-
Brush on textured stoneware paint
Mix 2 parts warm taupe paint with 1 part baking soda. Dab and stipple over the entire base with a chip brush so it looks organically aged.
-
Add subtle antique depth
Lightly dry-brush a slightly darker umber or watered-down brown glaze into the grooves, then blot back with a damp paper towel.
-
Swap the shade and bulb
Remove the tape, pop on a fresh oatmeal linen shade, and screw in a warm 2700K LED bulb for cozy evening glow.
Pro Tips & Budget Variations
- If the original lampshade frame is intact, you can also glue pleated linen or drop-cloth fabric over it to save even more.
- Keep the brass harp and finial unpainted—aged brass paired with matte stoneware looks ultra high-end.
- Check the lamp base weight: heavier ceramic or metal lamps feel much more expensive after a flip.
Frequently Asked Questions
Can I use joint compound instead of baking soda?
Yes! Spreading a thin skim coat of premixed joint compound creates an even chunkier, plaster-like Mediterranean texture before painting.
What size lampshade fits my thrifted base?
Aim for a shade width that is roughly twice the widest part of the lamp base, and a height about two-thirds the height of the base.
Save This DIY for Later!
Pin this tutorial to your Thrift Flip & Upcycled Decor Ideas board so you have the supply list handy on your next craft-store run.